반응형

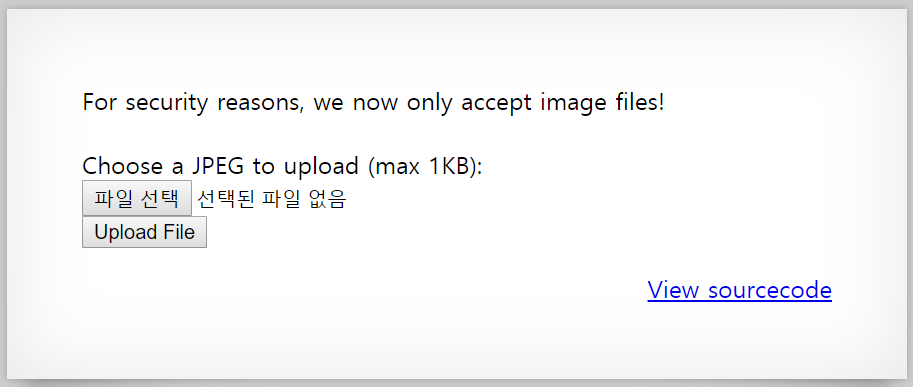
이번에는 지난번과는 달리 이미지 파일만을 받아들인다고 하는군요.
소스를 보도록 합시다.
<?

function genRandomString() {
    $length = 10;
    $characters = "0123456789abcdefghijklmnopqrstuvwxyz";
    $string = "";

    for ($p = 0; $p < $length; $p++) {
        $string .= $characters[mt_rand(0, strlen($characters)-1)];
    }

    return $string;
}

function makeRandomPath($dir, $ext) {
    do {
    $path = $dir."/".genRandomString().".".$ext;
    } while(file_exists($path));
    return $path;
}

function makeRandomPathFromFilename($dir, $fn) {
    $ext = pathinfo($fn, PATHINFO_EXTENSION);
    return makeRandomPath($dir, $ext);
}

if(array_key_exists("filename", $_POST)) {
    $target_path = makeRandomPathFromFilename("upload", $_POST["filename"]);

    $err=$_FILES['uploadedfile']['error'];
    if($err){
        if($err === 2){
            echo "The uploaded file exceeds MAX_FILE_SIZE";
        } else{
            echo "Something went wrong :/";
        }
    } else if(filesize($_FILES['uploadedfile']['tmp_name']) > 1000) {
        echo "File is too big";
    } else if (! exif_imagetype($_FILES['uploadedfile']['tmp_name'])) {
        echo "File is not an image";
    } else {
        if(move_uploaded_file($_FILES['uploadedfile']['tmp_name'], $target_path)) {
            echo "The file <a href=\"$target_path\">$target_path</a> has been uploaded";
        } else{
            echo "There was an error uploading the file, please try again!";
        }
    }
} else {
?>

<form enctype="multipart/form-data" action="index.php" method="POST">
<input type="hidden" name="MAX_FILE_SIZE" value="1000" />
<input type="hidden" name="filename" value="<? print genRandomString(); ?>.jpg" />
Choose a JPEG to upload (max 1KB):<br/>
<input name="uploadedfile" type="file" /><br />
<input type="submit" value="Upload File" />
</form>
<? } ?>
이번에도 '웹 쉘'을 이용해야 하는 건 분명한데
php 함수인 'exif_imagetype'으로 이미지 타입만을 통과시키고 있습니다.
이미지 파일은 그럼 어떻게 구성되어 있을까요?
바로 Header와 Footer 시그니처로 구분되게 됩니다.
그렇다면 저희는 텍스트 파일을 하나 만들고 그 안에 이미지 파일의 Header 시그니처를 아무거나 하나 집어넣은 뒤,
php 코드를 이용해서 이전 문제처럼 풀도록 만들었습니다.

이걸 제출하고 다시 html의 확장자명을 바꿔 준 다음에 Upload File을 누르고 링크가 생성되었다면
해당 링크로 들어가봅시다.

앞에 두 BM은 BMP 이미지 파일의 Header이기 때문에 제외하고 뒤의 문자열이 바로 우리가 원하는 패스워드입니다.
Lg96M10TdfaPyVBkJdjymbllQ5L6qdl1
반응형
